This is a step-by-step guide for scheduling a video meeting in Microsoft Teams. If you have not already, download Microsoft teams from office.com using your @tcmi.edu email address. Your @tcmi.edu email gives you free access to the Microsoft 365 suite of tools including Word, PowerPoint, Excel, OneNote, etc. Please note, if you use Windows 10 or Windows 11, you may have Microsoft Teams already installed on your computer. You will still need to download it from your @tcmi.edu office.com account because this is the Teams for Education version.
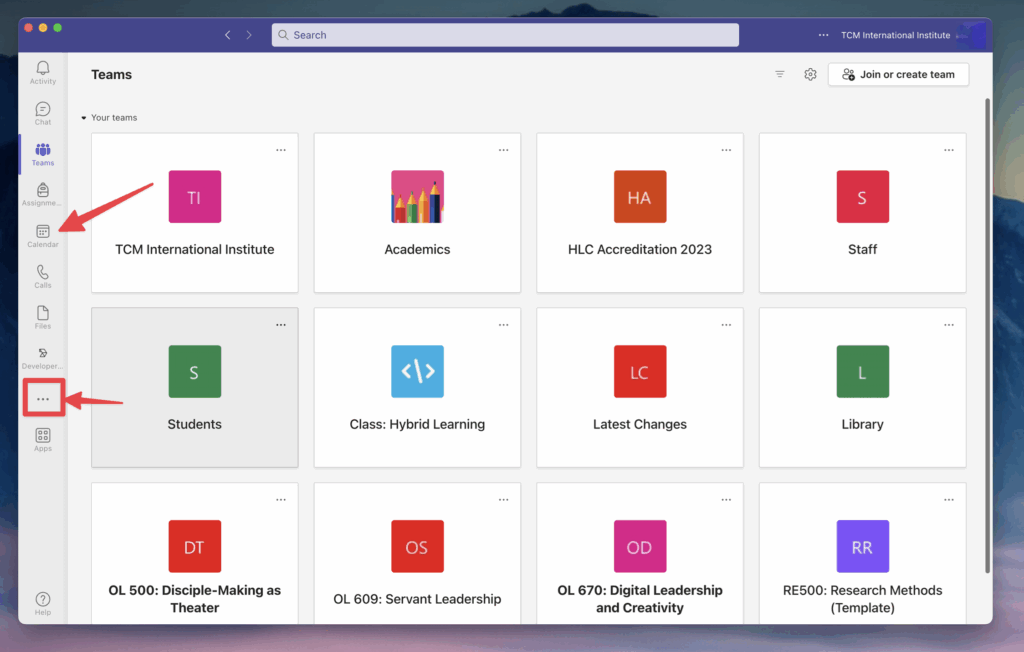
Click on Calendar on the left side of the Teams app. If you do not see the calendar, click on the 3 dots (highlighted by a red box in the illustration below) and then click on the calendar.
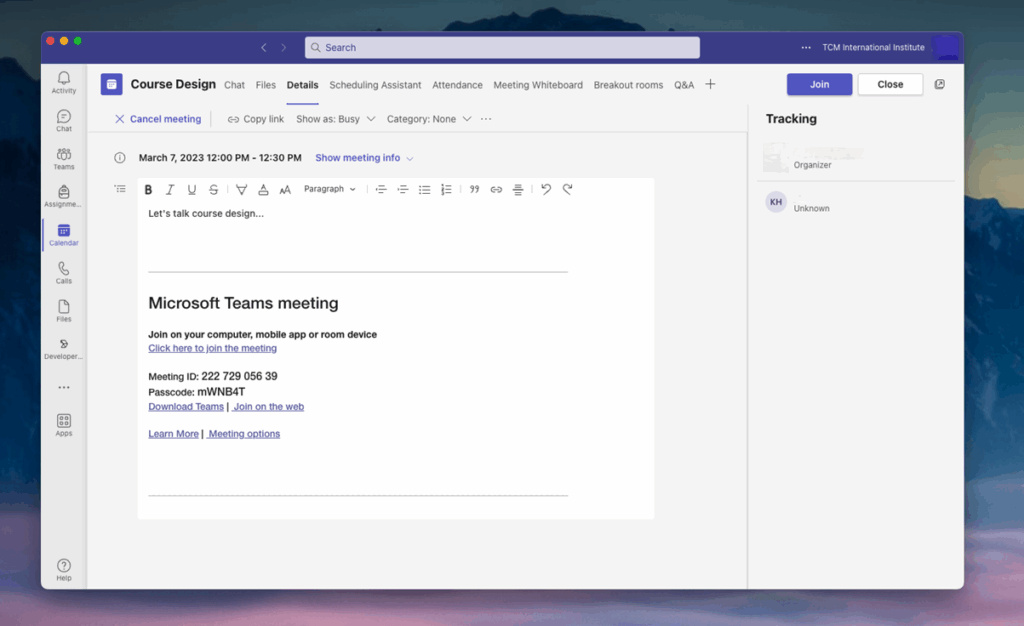
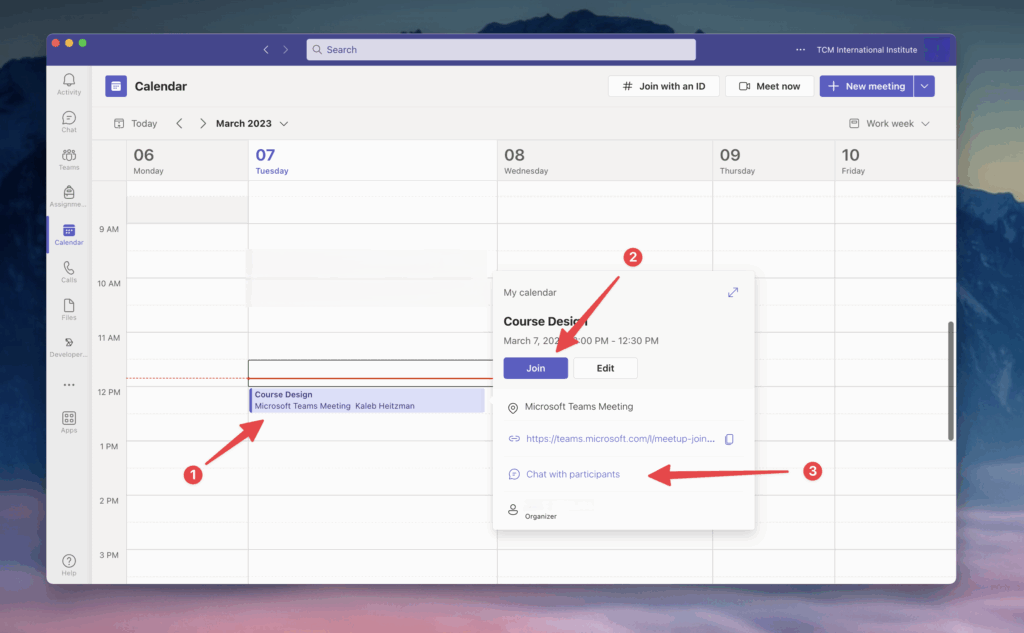
When you double click on a meeting in the calendar, you can edit the details or cancel the meeting. This is a good way to add additional attendees to your meeting when needed.
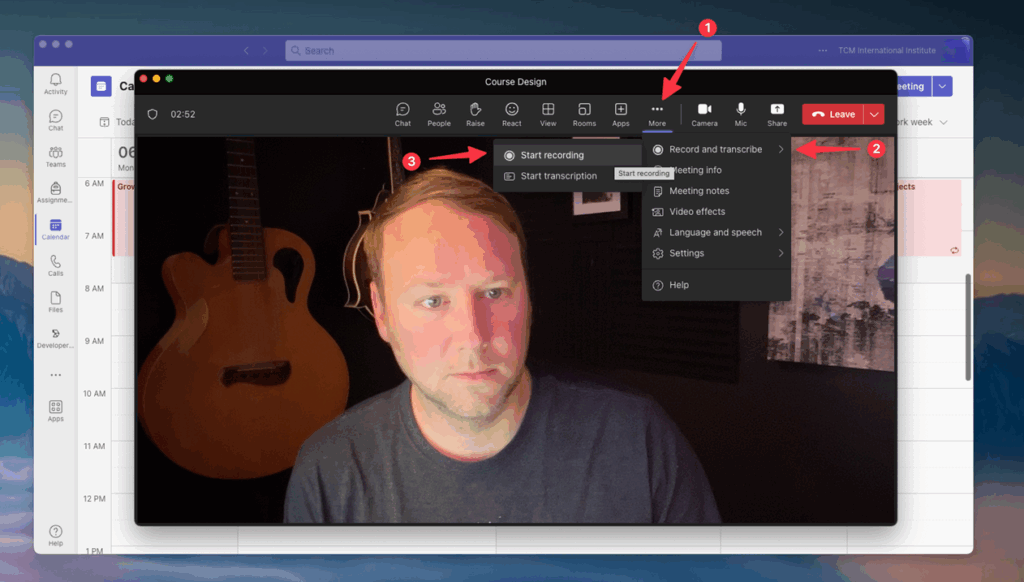
Any meeting you record will be available in the chat area for the meeting after the meeting has concluded. Be sure to ask participants for permission to record meetings.
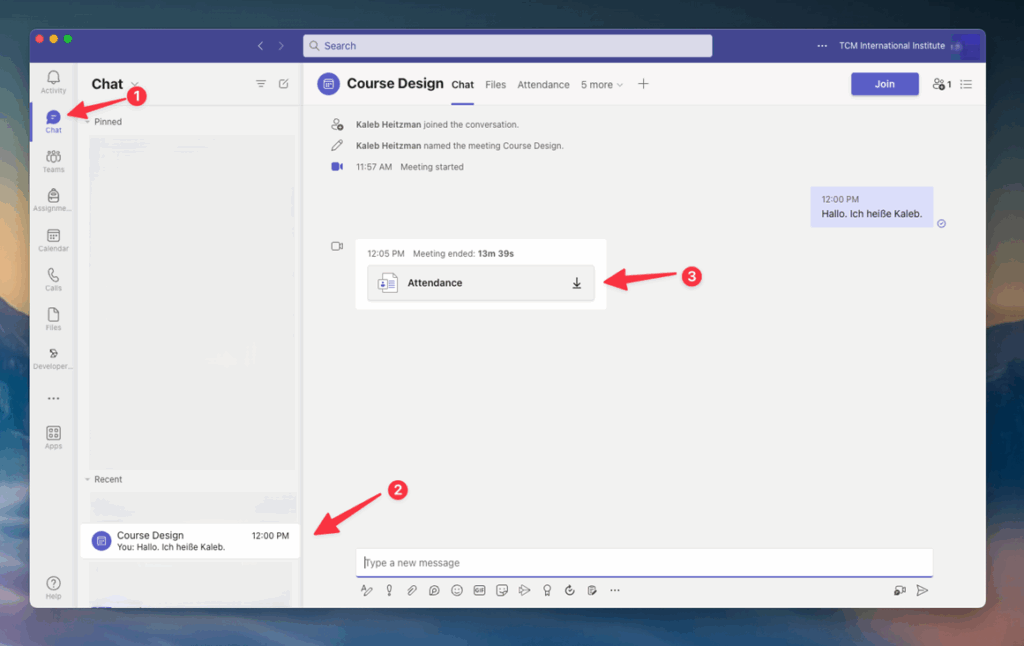
After you meeting has concluded, a meeting review/chat area will automatically be created with any recordings, chat messages, and an attendance report of the meeting.
Click chat in the left menu
Select the title of your meeting in the conversation window
View the attendance report and any other details about your meeting